


Table of Contents
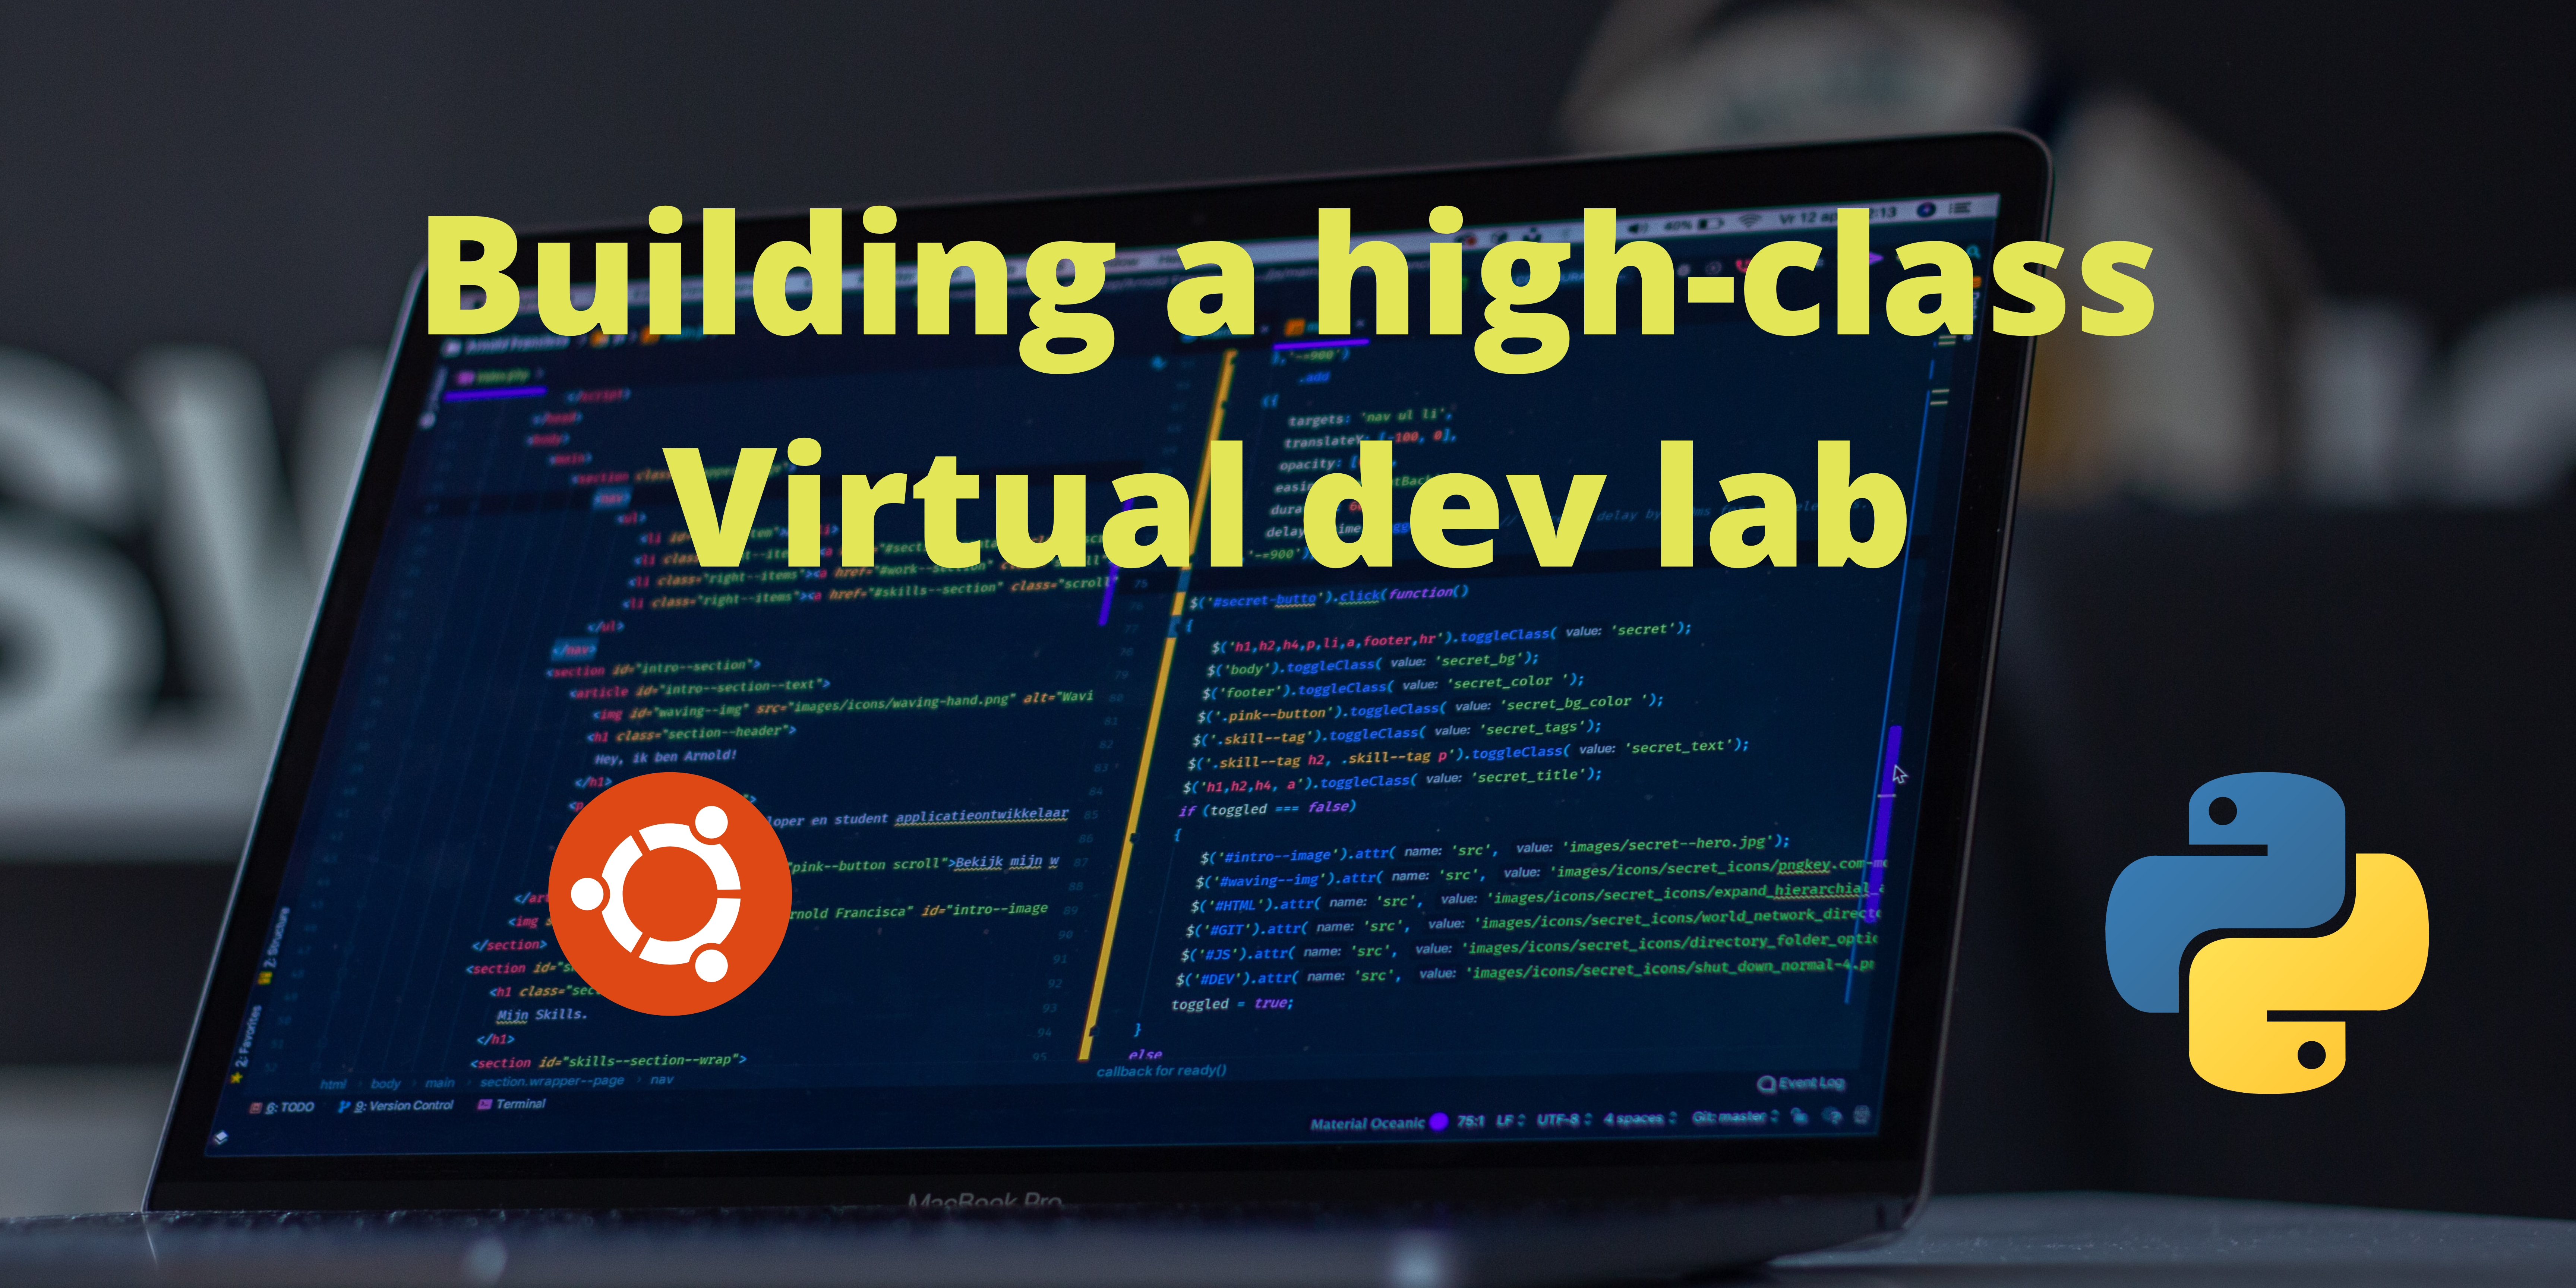
Creating a robust software development environment is a crucial step for any software developer. While modern operating systems like Windows and macOS are great for everyday use, developers often benefit from a Unix-like environment for command-line tools and software compatibility. Building a virtual machine (VM) provides a safe, isolated, and highly customizable space to code without affecting your host system.
Why a Virtual Software Development Environment?
As you advance in your development journey, you’ll encounter tools and dependencies that are designed to run on a Unix-based system. Windows has made significant strides with features like the Windows Subsystem for Linux (WSL), but a full virtual machine still offers unparalleled isolation and flexibility.
A virtual development environment:
- Prevents Conflicts: Keeps your development tools and their dependencies separate from your main operating system, avoiding conflicts and unexpected errors.
- Ensures Portability: You can easily back up, move, and share your entire development setup.
- Offers a Clean Slate: Provides a pristine environment for each new project, ensuring a consistent setup every time.
- Isolates Risks: Any changes or mistakes you make in the VM won’t affect your host machine.
Step 1: Choose Your Hypervisor
A hypervisor is a software layer that allows you to create and manage virtual machines. Think of it as a virtual machine manager. For a modern development setup, you have two primary options:
- VirtualBox: This free and open-source option is an excellent choice for beginners. It’s easy to set up, cross-platform, and widely used.
- VMware Workstation Player: A popular and reliable alternative, also with a free version for personal use. It’s known for its performance and additional features.
For this guide, we’ll use VirtualBox due to its accessibility and user-friendly interface. Download and install it from the official VirtualBox website.
Step 2: Download the Linux ISO
Next, you need a disk image (ISO file) of the operating system you want to install in your VM. Linux is the preferred choice for a development environment due to its open-source nature and robust command-line tools.
We recommend using Ubuntu Desktop LTS (Long-Term Support). Ubuntu is one of the most popular and user-friendly Linux distributions. The LTS version ensures you have a stable, well-supported environment for several years.
- Download the latest Ubuntu Desktop LTS ISO from the official Ubuntu website.
Step 3: Create and Configure Your Virtual Machine
With VirtualBox and the Ubuntu ISO ready, you can now create your VM.
- Launch VirtualBox and click the “New” button to start the creation wizard.
- Name and OS Selection:
- Name: Give your VM a descriptive name, like “Ubuntu Dev.”
- Folder: Keep the default or choose a location with plenty of disk space.
- ISO Image: Click the dropdown and navigate to the Ubuntu ISO file you downloaded. VirtualBox will automatically detect the OS type and version.
- Check “Skip Unattended Installation.” This will give you full control over the installation process.
- Hardware Configuration:
- Base Memory (RAM): Allocate at least 4 GB (4096 MB) for smooth performance. If you have more RAM on your host machine, you can allocate more.
- Processors (CPU): Assign at least 2 CPU cores. More cores will improve performance for compiling and running demanding applications.
- Storage:
- Create a Virtual Hard Disk: Choose “Create a Virtual Hard Disk Now.”
- Size: The recommended size is a good starting point (typically 25 GB). You can increase this if you plan to store many projects.
- Dynamically Allocated: Select this option. It means the virtual disk file will only grow as you add data, saving space on your host machine.
- Finalize Creation: Click “Finish.” Your new VM is now ready for its operating system installation.
Step 4: Install Ubuntu on the Virtual Machine
Now, let’s install the OS into your newly created VM.
- Start the VM: Select your new VM in VirtualBox and click the “Start” button.
- Installer Boot: The VM will boot from the Ubuntu ISO file. Follow the on-screen instructions.
- Installation Type:
- Choose a “Normal installation.”
- Check the box to “Install third-party software…” to get drivers and codecs.
- Disk Setup:
- Select “Erase disk and install Ubuntu.” Don’t worry, this will only affect the virtual disk, not your host machine’s hard drive.
- User Details: Create your username and a strong password. You will need this to install software and perform administrative tasks.
- Installation Complete: Once the installation is finished, the installer will ask you to restart. Before you click “Restart,” go to the VirtualBox menu, select “Devices” > “Optical Drives,” and click “Remove disk from virtual drive.” This “ejects” the ISO so the VM doesn’t try to reinstall Ubuntu on the next boot.
Step 5: Essential Post-Installation Setup and Tools
Congratulations! You now have a fully functional virtual development environment. Here’s what to do next to get it ready for coding.
Update Your System: Open the terminal (Ctrl + Alt + T) and run the following commands to update and upgrade all packages. This is a crucial first step for security and stability.
Bash
sudo apt update
sudo apt upgrade -y-
- sudo: Stands for “Super User Do” and gives you administrative privileges. You’ll be prompted for your password.
- apt: The package manager for Debian/Ubuntu, used to install, update, and remove software.
- -y: Automatically confirms “yes” to all prompts.
- Install Essential Tools:
Git: Version control is non-negotiable.

sudo apt install git
VS Code: A highly popular, feature-rich code editor.
sudo snap install --classic codeNode.js/npm: Essential for web development. We recommend using a version manager like nvm or Bash
curl -o- https://raw.githubusercontent.com/nvm-sh/nvm/v0.39.1/install.sh | bash
After running this, close and reopen your terminal. Then install Node.js:
Bash
nvm install --ltsDocker: For containerization, which is a modern development best practice.
Bash
sudo apt install docker.io
sudo usermod -aG docker $USER- Log out and log back in for the changes to take effect.
Best Practices and Practical Advice
- Learn the Command Line: The true power of a Linux dev environment lies in the terminal. Master basic commands like ls, cd, pwd, mkdir, and rm to navigate your file system efficiently.
- Take Snapshots: Before installing major software or making significant configuration changes, take a snapshot of your VM. This creates a restore point you can revert to if something goes wrong. In VirtualBox, select your VM, go to “Machine” > “Take Snapshot.”
- Shared Folders: Set up a shared folder between your host and guest OS to easily transfer files. In VirtualBox, go to “Settings” > “Shared Folders.” This is much easier than emailing files to yourself.
- Backup Your VM: Regularly back up your entire VM by exporting it. In VirtualBox, go to “File” > “Export Appliance.” This creates a single file you can use to restore your environment on any machine.
Switch to WSL (Optional): Once you’re comfortable with Linux and the command line, consider using WSL (Windows Subsystem for Linux) if you’re on Windows. It’s a more lightweight and integrated option, though a full VM still has its benefits for some use cases. Here is a list of beginner mistakes to avoid and set yourself up for success.
[…] People is been asking this question a lot especially when they are newbies. My honest response is simple. You can make money from any niche you might choose if you have enough people to target because there are many products available that can fit your niche very easily. But marketers have been arguing over time that Heath, wealth, fitness, and dating are the best niches to start an affiliate marketing business. Here are two articles to read if you are interested in learning more. “11 Most Profitable Niches For Affiliate Marketing” written by Jeff Ramlee on his website Lead Dyno and the second one are “What Are The Most Profitable Niches For Affiliate Marketing?” by nichehacks.com. And if you want to learn more about how to use affiliate marketing as a programmer. Click here […]